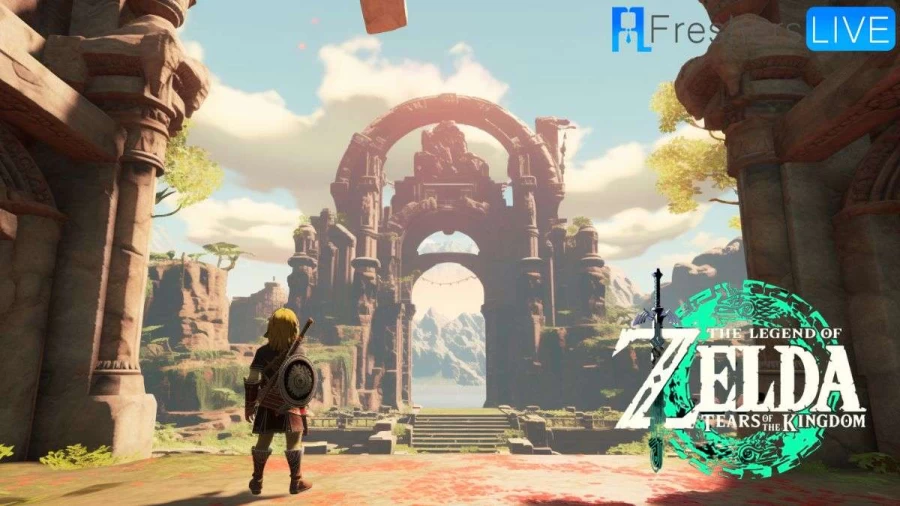
Zelda Tears of the Kingdom Orochium Shrine Walkthrough, How to Complete Orochium Shrine in Zelda Tears of the Kingdom?
by Rajesh
Updated May 25, 2023

Zelda Tears of the Kingdom Orochium Shrine Walkthrough
Zelda Tears of the Kingdom Orochium Shrine is quite extensive, featuring numerous adversaries and laser traps. The objective, similar to the Tukarok Shrine, is to transport a metallic sphere from the rear of the shrine to the front. Commence by utilizing Ultrahand to open the doors ahead of you. Be cautious of the lasers and avoid them altogether. Take note of the ball pit on the right side and the corridor on the left.
In this area, you will encounter a Soldier Construct II. Aim for its head with your bow and swiftly dispatch it with a melee attack while it is stunned. Upon defeat, it will drop a valuable Soldier Construct II Horn, enhancing a weapon's attack power by 8, so be sure to retrieve it. Next, equip the Ascend ability and direct your attention to the towers in front of you. Yes, you will be ascending.
Climb the ladder to the top and then crouch to enter the subsequent room by crawling. An enemy awaits below you (another Soldier Construct II), so prepare yourself to eliminate it. You can use your bow to take it down from this elevated position. In our case, it took two shots with a 25-power-reinforced Lizal bow. Afterward, glide down, bypass the stairs, and defeat another Soldier Construct II.
It is guarding a chest containing five arrows, so grab them while you are in the vicinity. Return to the stairs to find another door that necessitates the use of Ultrahand. Open it and, behold, more lasers! Crawl beneath them to encounter a pair of enemies one on each side of the green door in front of you dispatch them with your bow, and proceed. The green door conceals the ball we need to return to the starting point and requires a key.
To acquire the key, turn around and rush into the laser trap this action will activate a trap door, causing you to plummet into a corridor with moving lasers. Hasten past them and employ Ascend at the end of the corridor. There, you will discover a treasure chest containing a small key.
Cross the laser corridor once again, ascend through the trap door you previously fell through, and now it is time to unlock the green door. Take the ball and ascend the stairs located behind the locked room, continuing onto the floating platform.
Place the ball in the pit and witness the magnificent wing that unlocks. Observe the two fans attached to it. Connect the ball to the wing and position it on the track, then strike it with your weapon to set the fans in motion, allowing you to ride back to the shrine's starting point. Detach the ball, drop it in the pit, and the task is complete. Proceed to interact with the sigil to obtain your Light of Blessing and successfully finish the Orochium Shrine!
How to Complete Orochium Shrine in Zelda Tears of the Kingdom
In the Orochium Shrine of The Legend of Zelda: Tears of the Kingdom, your journey involves discovering and unlocking two chests. One of these chests holds the key to accessing the coveted Light of Blessing within the Shrine. Follow these steps to successfully navigate through this shrine: Upon entering, you will immediately encounter a door ahead that requires the use of the Ultrahand to open.
However, this path is obstructed by laser barriers reminiscent of the Sahirow Shrine. Instead, you must choose the left path. At the end, utilize the Ascend ability to climb to the next level. Here, you'll find a ladder leading to yet another level. In this section, you must crouch to pass through a small hole. Once on the other side, leap and glide towards the left, then proceed further left. It is at this point that the chests in the Shrine can be discovered. One of the chests contains five arrows.
Retrace your steps in the direction you came from, and you'll come across another door. Employ the Ultrahand once again to open it and proceed through. Exercise caution while crossing the path to avoid being struck by the lasers. However, if you do happen to be hit, fear not. You will descend to an underground passage, from which Ascend will allow you to easily reach the next level of the Shrine in The Legend of Zelda: Tears of the Kingdom.
In this section, you must overcome the challenge of defeating two Construct bots. Afterward, return to the jail-like structure and retrieve the ball. Make your way back in the direction you originally came from, climb the stairs, and turn right. You'll encounter a platform resembling an elevator. Step onto it to advance to the next level.
Here, place the ball onto the switch, which will activate the Zonai aeroplane. Position the ball onto the aeroplane and utilize it as a means of transportation to cross over to the subsequent level. Remove the ball from the plane and position it on the switch to open the gate leading to the final chamber of the Shrine. Within this chamber, collect the long-awaited Light of Blessing as your reward.
Orochium Shrine Location in Zelda
Discover the mystical Orochium Shrine nestled within the majestic Hebra Mountains, situated to the northwest of the Forgotten Temple, which you'll encounter during your captivating journey in pursuit of the Geoglyphs quest. Unveiling the precise location of this sanctuary, its coordinates are as follows: latitude -1638, longitude 2643, elevation 0239. Prepare yourself for the bracing climate that awaits atop these lofty peaks by adorning the Archaic Warm Greaves, or alternatively, indulge in a fortifying elixir that will shield you from the chilling temperatures and envelop you in a comforting warmth.
Orochium Shrine - The Legend Of Zelda
The Orochium Shrine represents a sacred location within the captivating realm of The Legend of Zelda: Breath of the Wild. Situated amidst the majestic Hebra Mountains, this shrine serves as a testament to the game's intricate trials and tribulations. To gain access to this revered sanctuary, players embark on a journey to the southeastern region of the Pikida Stonegrove Skyview Tower, just north of the breathtaking Icefall Foothills.
Once within the shrine's hallowed halls, adventurers are immediately thrust into a realm of formidable obstacles and demanding trials. These include the manipulation of metallic blocks utilizing the awe-inspiring power of Magnesis, deftly evading laser beams through the skillful implementation of Cryonis, and the monumental task of rotating a colossal cog with the aid of Magnesis.
Throughout their exploration, brave players will encounter an array of adversaries lurking within the shrine's confines, including formidable Guardians wielding axes. The pinnacle of the shrine experience is the central platform, where a resplendent blue orb lies in wait, beckoning with enigmatic allure. Resourceful utilization of the Stasis ability allows players to freeze the orb in its ethereal glory.
Subsequently, a daring leap onto the central platform enables the retrieval of a key safeguarded by a vigilant Guardian. The player must then employ their Ascend ability to navigate a corridor fraught with perilous laser beams and utilize the key once more to surpass the grate suspended above a chest, revealing the culmination of their efforts. Finally, a climactic encounter against a Guardian awaits, an arduous challenge that must be surmounted before claiming the well-deserved reward that awaits intrepid adventurers.
Zelda Tears of the Kingdom Orochium Shrine Walkthrough - FAQs
Use your bow to aim for their heads and then finish them off with a melee attack.
Activate the trap door by rushing into the laser trap, then proceed through the corridor with moving lasers to find a treasure chest containing the small key.
Place the ball on the floating platform, attach it to the wing, position it on the track, and strike it with your weapon to set the fans in motion.
After riding back to the starting point, drop the ball in the pit, interact with the sigil, and you will receive the Light of Blessing.
Be careful of laser traps and laser barriers, and make sure to avoid the lasers.


